
Built in three repeatable steps.
This example builds a complete four-shelf rack. For each level: fit the tapered sleeves, lower the shelf and seat every corner evenly — no screws required.
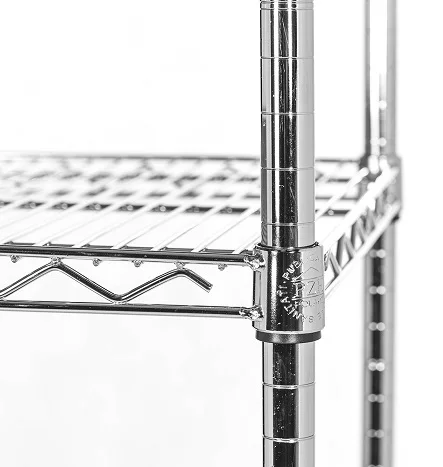
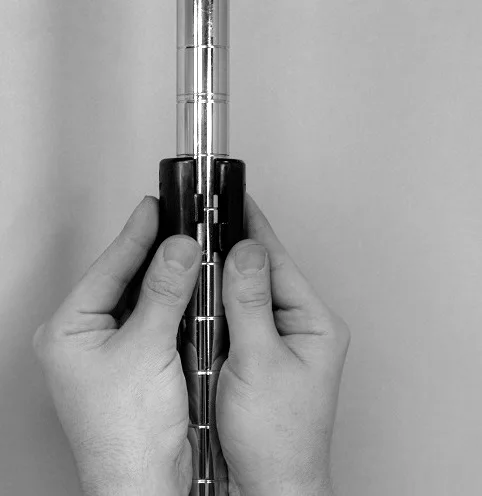
A tighter fit as the shelf is seated.
Two matching tapered sleeves clip around each grooved post. The conical shelf collar slides over them and locks the corner in position as the shelf is pressed down.
The same principle is used across stationary Chrome and noMICRO racks. Start with the lowest shelf: it establishes the frame before the remaining levels are added.
Repeat the sequence. Finish with four shelves.
Complete steps 01–03 for the lowest shelf. Then repeat the same three actions at three further heights to finish the four-shelf rack.
- 01
Fit the sleeves
Clip both halves around each post. The inner rib must engage the same numbered groove on all four posts.
Check all four corners before adding the shelf.  02
02Lower the shelf
Guide each conical shelf collar over its prepared sleeve pair. Keep the shelf level so no corner binds or drops ahead of the others.
Do not force a misaligned corner. 03
03Seat every corner
Tap above each corner with a rubber mallet, moving around the shelf until all four collars sit evenly and feel secure.
Use rubber — never strike the finish with a metal hammer.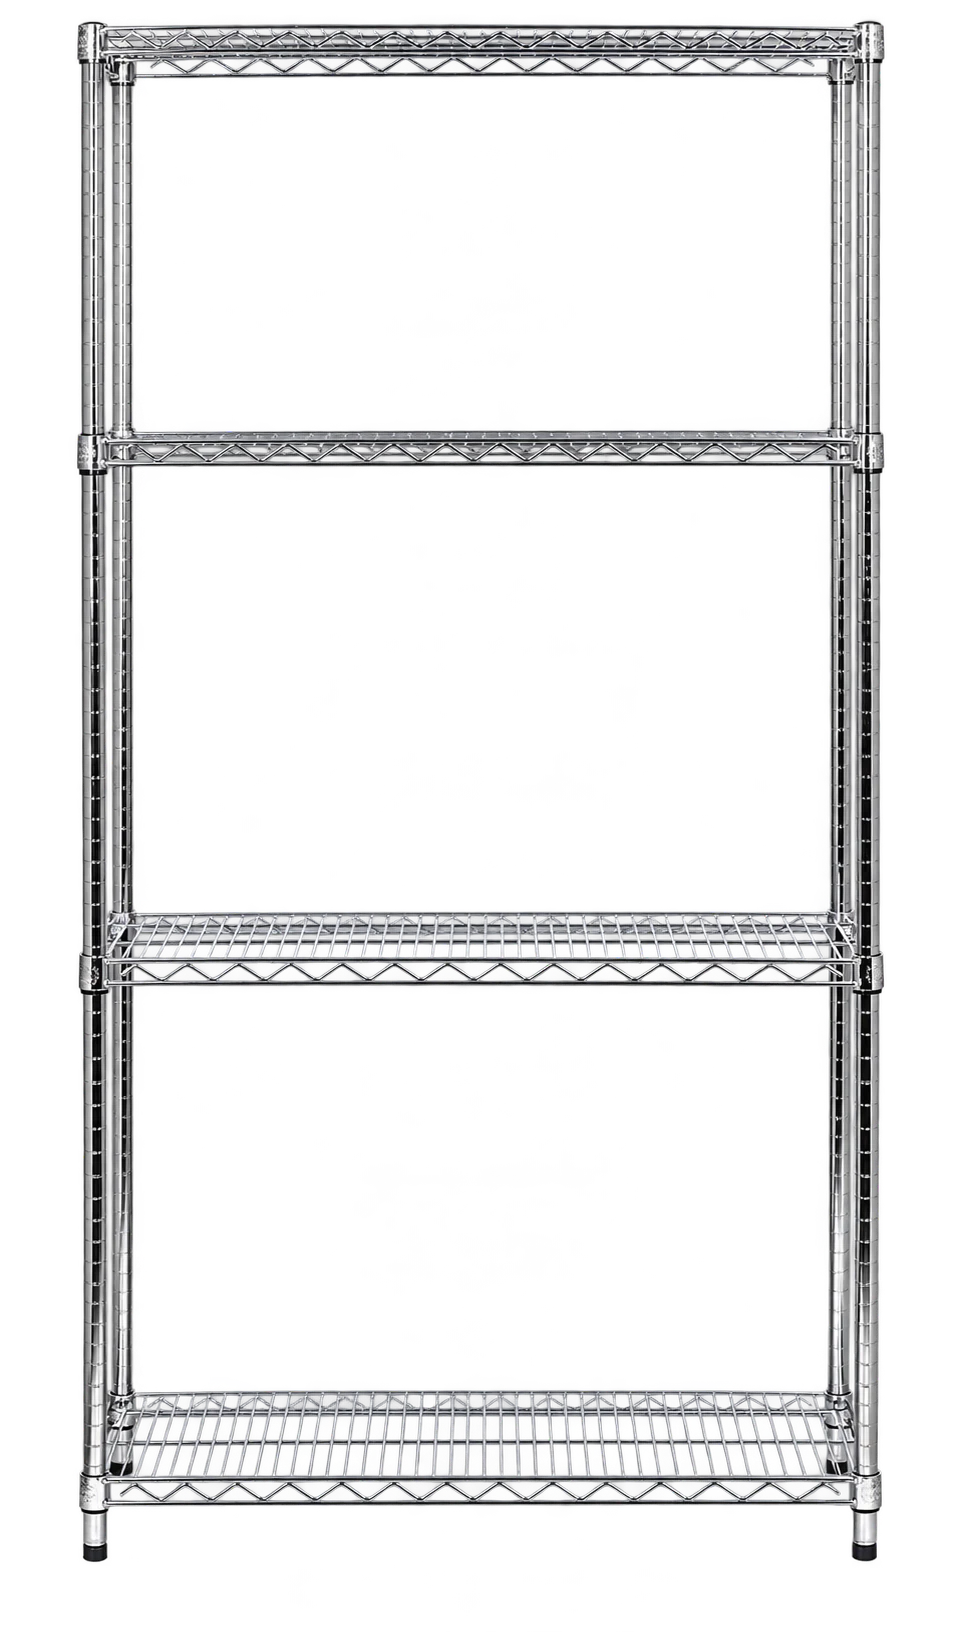 04
04Repeat — and finish the rack
Repeat steps 01–03 for the second, third and fourth shelf. Keep every sleeve pair on matching grooves and seat each completed level evenly.
The result is a complete, stable four-shelf rack ready for final levelling.
Level the rack before you load it.
Move the empty rack into its working position. Turn the adjustable feet until all four posts are supported, the rack stands vertical and the shelves sit level.
- Check the floor and remove anything trapped beneath a foot.
- Adjust the feet — do not pack the rack with improvised wedges.
- Recheck stability after joining bays or moving the rack.
A 60-second installation check.
Inspect the finished rack before it enters service — and again after any later reconfiguration.
- 01
Every sleeve pair is clipped into the same groove at a given shelf level.
- 02
All four shelf collars are seated evenly, with no raised corner.
- 03
The rack is level, stable and supported at all four posts.
- 04
Loads will be distributed evenly, with heavier items placed lower.
Observe the load declaration for the exact configuration. A compatible Ultra Power shelf can carry up to 270 kg with the load evenly distributed; the complete rack can carry up to 950 kg depending on its configuration.
Assemble it once. Reconfigure it whenever the room changes.
Move a shelf in 25 mm increments, add another level or extend the rack into a continuous run. The boltless connection keeps future changes practical.
Before you start.
What tools do I need?
A rubber mallet is the only tool recommended for seating the shelf corners. No screws, nuts or specialist tools are required for the standard connection.
Which shelf should I install first?
Start with the lowest shelf. Once it is seated evenly, the four posts form a stable frame for adding the remaining levels.
Can I change the shelf height later?
Yes. Unload the rack, release the shelf carefully, move all four sleeve pairs to matching grooves and seat the shelf again. Heights adjust in 25 mm increments.
Does noMICRO shelving assemble in the same way?
Yes. Chrome and noMICRO stationary racks use the same tapered connection. Use a clean rubber mallet and avoid damaging the protective finish.
When is the rack ready to load?
Only after every collar is evenly seated and the complete rack is level and stable on all four posts. Follow the load declaration supplied for the configuration.
Choose the dimensions. We will help with the configuration.
Build a starting specification in the configurator or tell us about the room, load and working conditions.